Top part
Ribs
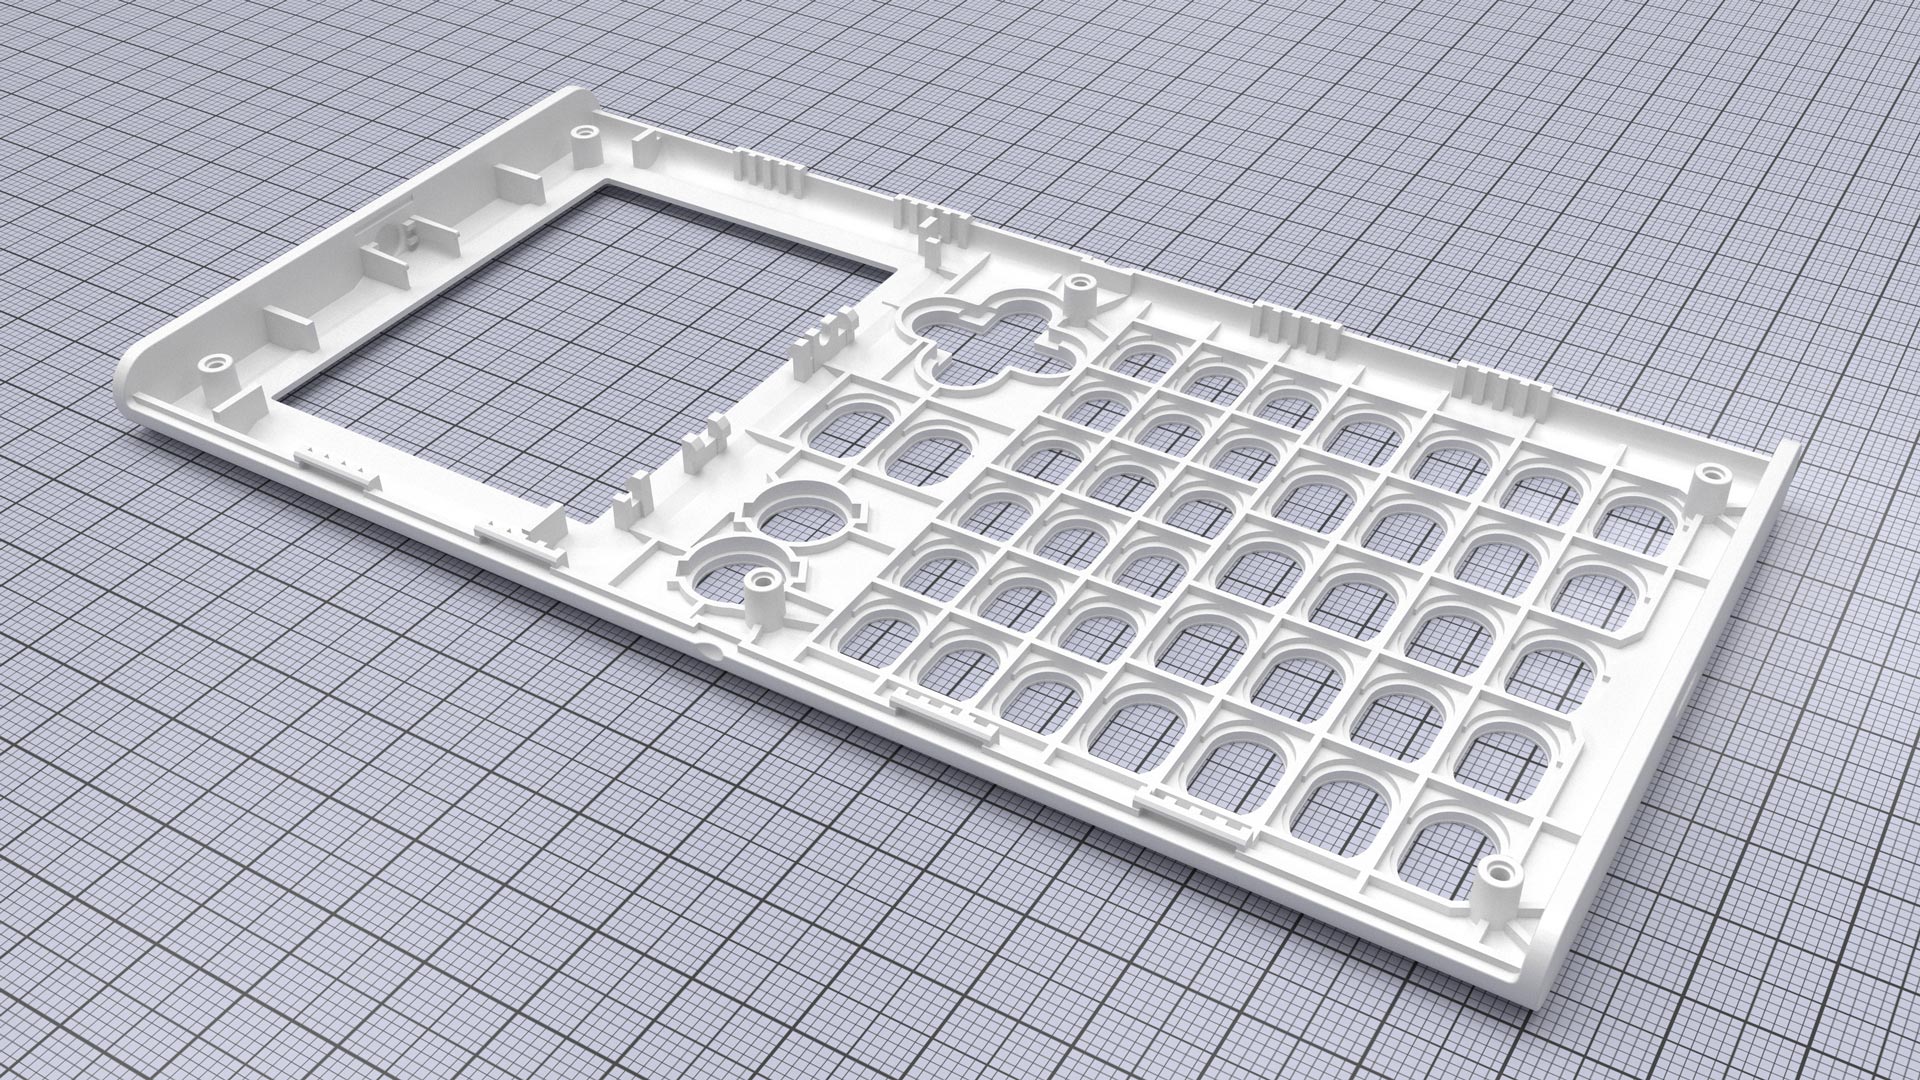
The inside of the top part is covered in ribs. Those are used to make that plastic part more rigid, and as a consequence the whole product as well. The ribs are thinner than the shell to prevent sink marks, and they cover the inside of the top part like a grid.
But in this case, they not only improve rigidity, but are also used to position the screen and keep it from moving. Some space is reserved on the right for the FPC.
Most of the ribs on the keyboard area are pressing the keypad against the PCB to keep it from moving when the keys are pressed. Some ribs are a bit higher and are in direct contact with the PCB to improve again the rigidity of the finished product.
Ribs around the key slots
Around the round keys
They are used to keep the keys from rotating when used. Of course for it to work, the keys have the complementary shape.
Around the cross-shaped key
They are used to keep the plastic from tearing when the part is ejected from the injection mold, making the region stronger.
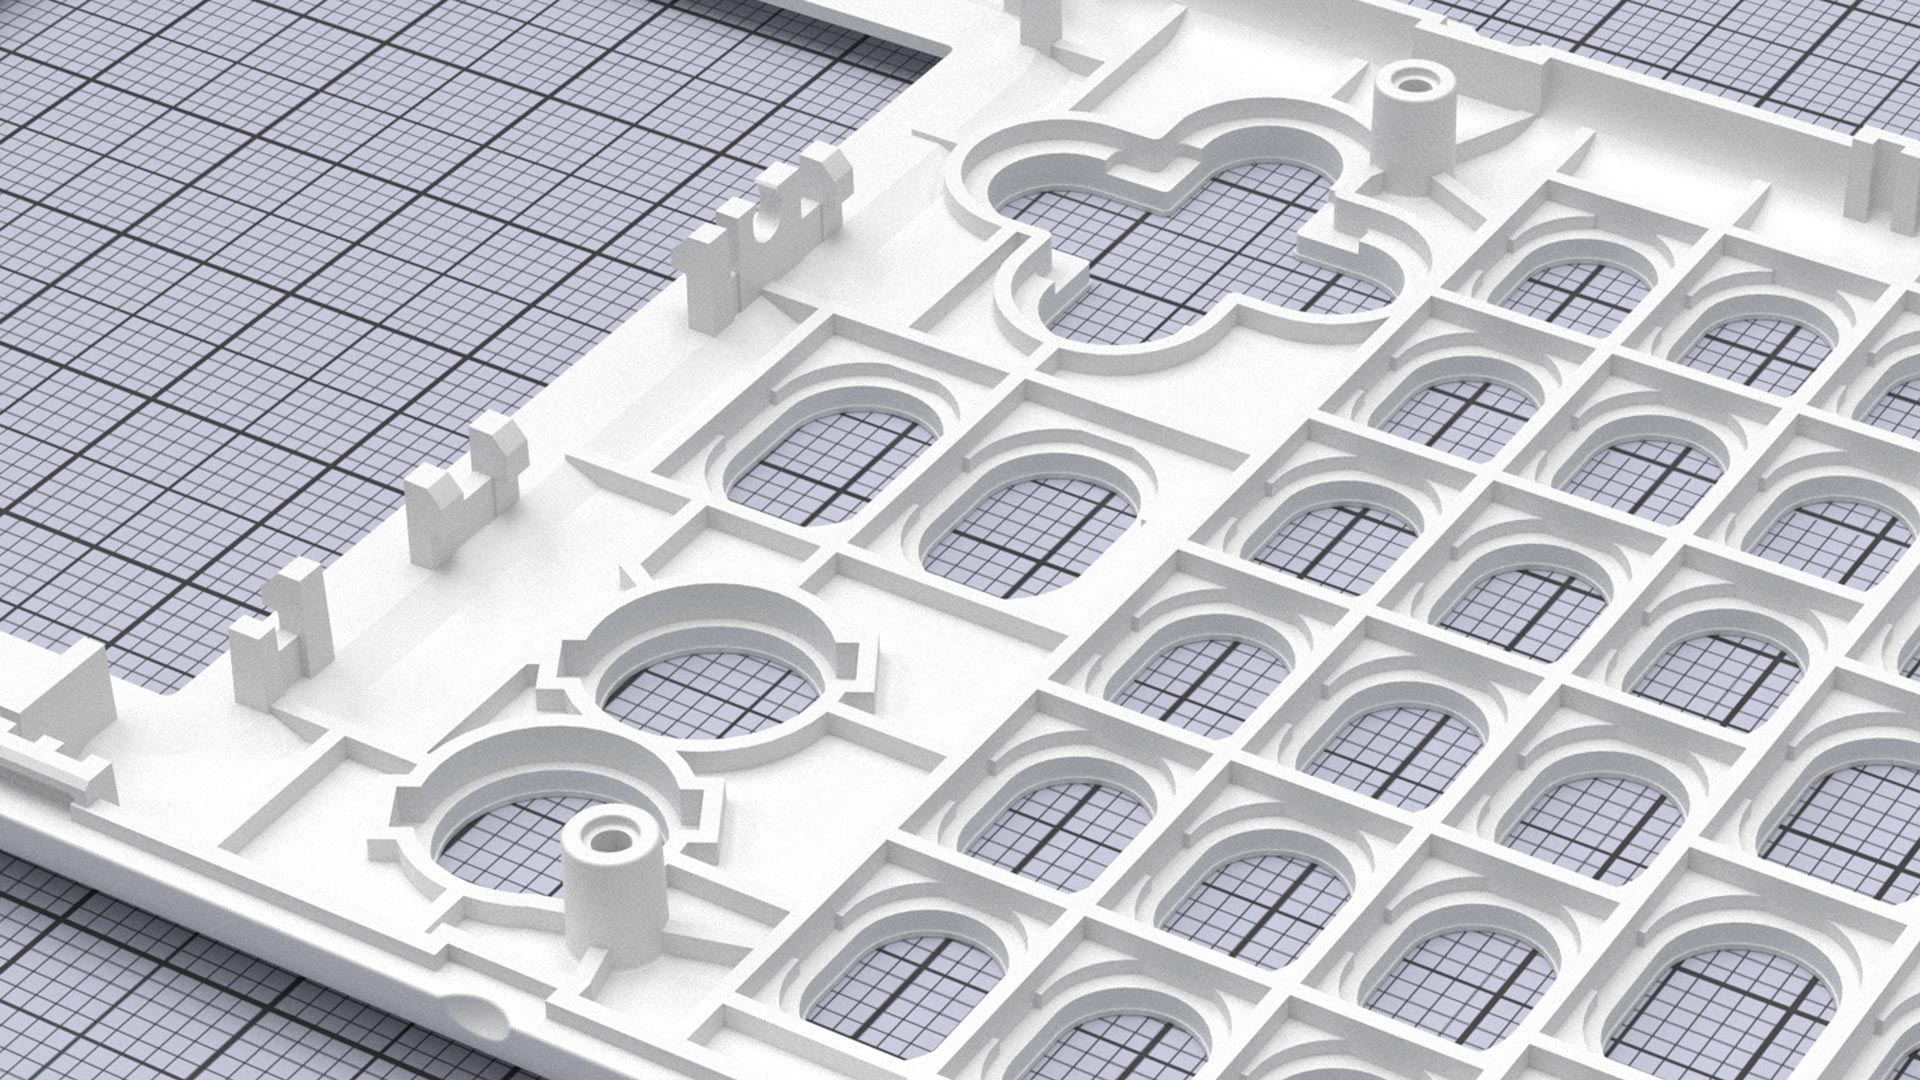
The higher, asymmetrical ribs on each side of keyboard area
They are known as mechanical coding or poka-yoke and are used to prevent an incorrect assembly by making it impossible to connect the parts in a wrong way. You can check the PCB and bottom part to see where those ribs fit.
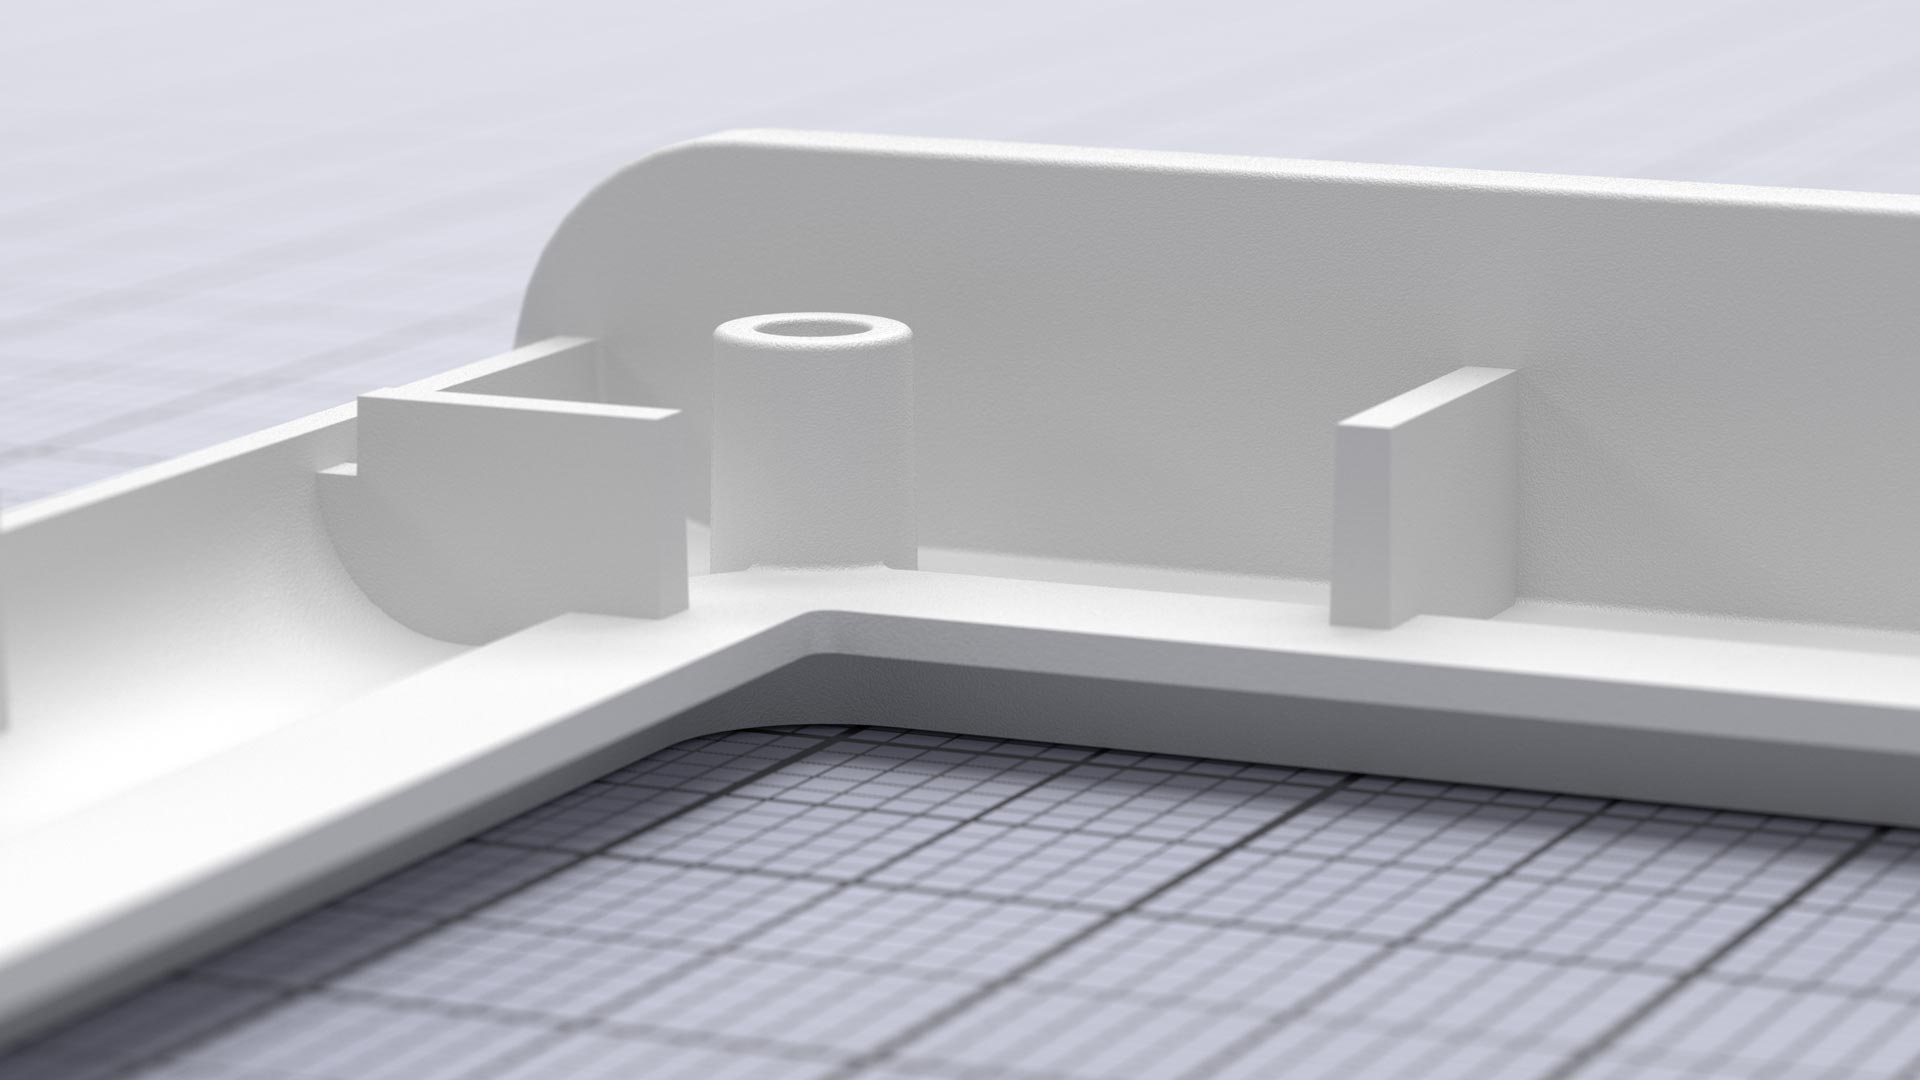
Screw bosses
There are eight screw bosses on the inside of the top part.
Two of them are shorter than the others and are used to hold the PCB in place during the assembly process. Six of them are aligned and are used to close the product. Their position was determined by the space available on the top part, but also the position of their counterparts on the bottom of the calculator.
All of them also serve the purpose of positioning correctly the keypad and PCB, which have holes that come around these bosses.
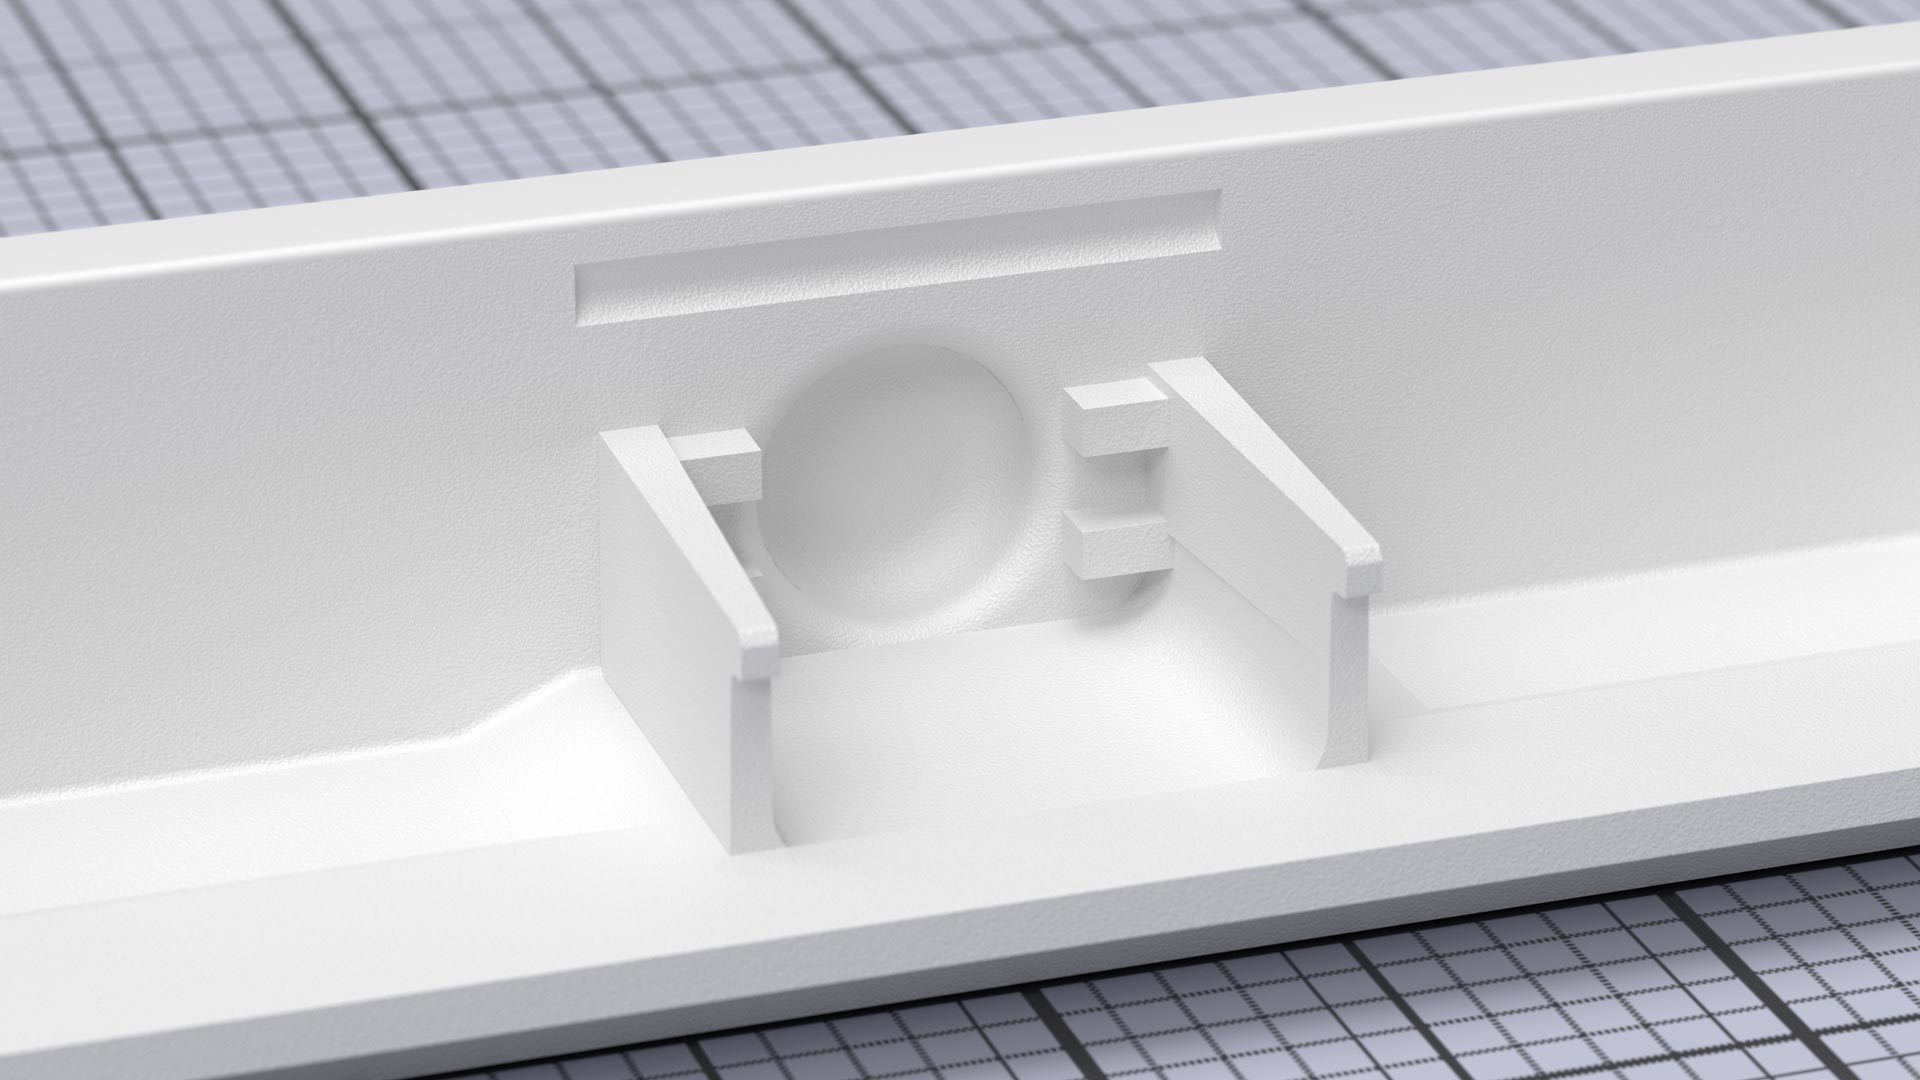
Shine-through LED
When the LED at the top of the device is turned off, you cannot tell it's here. The surface on the outside is completely flat with no change of material. But the LED is strong enough to shine through the ABS and form a round halo when turned on.
If you look inside, you will see that it is made possible by a change in the thickness of the plastic. The LED light would not be visible through 2 mm of ABS, that's why we decreased the thickness to 0.5 mm.